
Adobe Photoshop has long been the go-to software for photo editing and graphic design, and with the integration of AI-powered tools, it has become even more powerful. Features like Generative Fill, Neural Filters, and Smart Object Selection are revolutionizing how professionals and hobbyists approach creative projects. This ultimate guide will walk you through how to use these AI tools effectively, helping you unlock new levels of creativity and efficiency in Photoshop.
1. What Are Photoshop AI Tools?
Photoshop’s AI tools leverage machine learning and artificial intelligence to automate complex tasks, enhance creativity, and streamline workflows. These tools are designed to save time, reduce manual effort, and deliver stunning results. Key AI-powered features include:
- Generative Fill
- Neural Filters
- Smart Object Selection
- Content-Aware Fill
- Sky Replacement

2. Getting Started with Generative Fill
Generative Fill is one of Photoshop’s most exciting AI tools, allowing you to add, remove, or replace elements in an image seamlessly. Here’s how to use it:
Step 1: Select an Area
- Open your image in Photoshop.
- Use the Lasso Tool, Marquee Tool, or Object Selection Tool to select the area you want to edit.
Step 2: Apply Generative Fill
- Right-click on the selected area and choose Generative Fill from the context menu.
- In the prompt box, describe what you want to add, remove, or replace (e.g., “add a mountain in the background”).
- Click Generate.
Step 3: Refine the Results
Photoshop will generate multiple options for you to choose from. Select the one that best fits your vision, and use additional tools like the Brush Tool or Clone Stamp to refine the result.
3. Exploring Neural Filters
Neural Filters are AI-powered filters that allow you to apply complex edits with just a few clicks. Here’s how to use them:
Step 1: Access Neural Filters
- Open your image in Photoshop.
- Go to Filter > Neural Filters.
Step 2: Choose a Filter
Some popular Neural Filters include:
- Skin Smoothing: Automatically smooths skin tones in portraits.
- Style Transfer: Applies artistic styles to your image.
- Colorize: Adds color to black-and-white photos.
- Smart Portrait: Adjusts facial features, expressions, and age.
Step 3: Adjust Settings
Each filter comes with customizable settings. Experiment with sliders and options to achieve the desired effect.
4. Mastering Smart Object Selection
The Object Selection Tool uses AI to detect and select objects in your image with precision. Here’s how to use it:
Step 1: Select the Tool
- Open your image in Photoshop.
- Choose the Object Selection Tool from the toolbar.
Step 2: Make a Selection
- Draw a rough rectangle or lasso around the object you want to select.
- Photoshop will automatically detect the object and create a precise selection.
Step 3: Refine the Selection
Use the Select and Mask workspace to refine edges, adjust feathering, and clean up the selection.
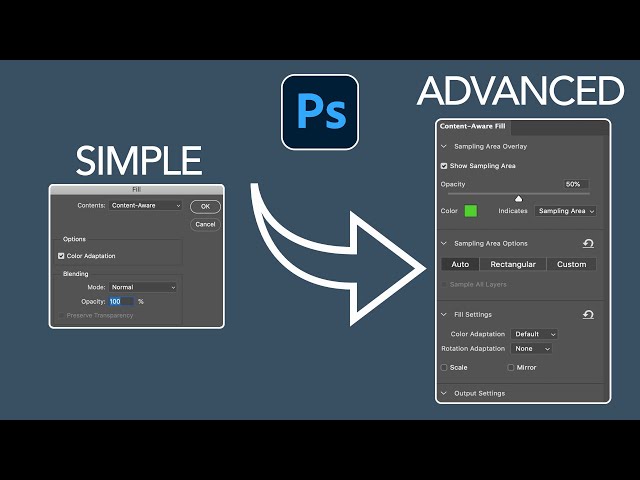
5. Using Content-Aware Fill
Content-Aware Fill is another powerful AI tool that removes unwanted objects and fills in the background seamlessly. Here’s how to use it:
Step 1: Select the Area
- Open your image in Photoshop.
- Use the Lasso Tool or Marquee Tool to select the object or area you want to remove.
Step 2: Apply Content-Aware Fill
- Go to Edit > Content-Aware Fill.
- Photoshop will analyze the image and generate a fill based on the surrounding area.
Step 3: Refine the Result
Use the Content-Aware Fill workspace to adjust settings and fine-tune the result.
6. Replacing Skies with Sky Replacement
The Sky Replacement tool makes it easy to replace dull skies with stunning alternatives. Here’s how to use it:
Step 1: Open the Tool
- Open your image in Photoshop.
- Go to Edit > Sky Replacement.
Step 2: Choose a Sky
- Select a sky from the built-in library or upload your own.
- Photoshop will automatically blend the new sky with your image.
Step 3: Adjust Settings
Use sliders to adjust brightness, color, and blending for a natural look.
7. Tips for Maximizing Photoshop AI Tools
Experiment with Prompts
When using Generative Fill, try different prompts to explore creative possibilities.
Combine Tools
Use multiple AI tools together for more complex edits. For example, combine Generative Fill with Neural Filters for unique effects.
Learn Keyboard Shortcuts
Mastering shortcuts can speed up your workflow when using AI tools.
Stay Updated
Adobe frequently updates Photoshop with new AI features. Keep your software up to date to access the latest tools.
Conclusion
Photoshop’s AI tools, including Generative Fill, Neural Filters, and Smart Object Selection, are transforming the way we edit and create. By mastering these features, you can save time, enhance your creativity, and achieve professional-quality results. Whether you’re a beginner or an experienced designer, this ultimate guide will help you unlock the full potential of Photoshop’s AI-powered tools. Start experimenting today and take your creative projects to the next level!